IN BRIEF
|
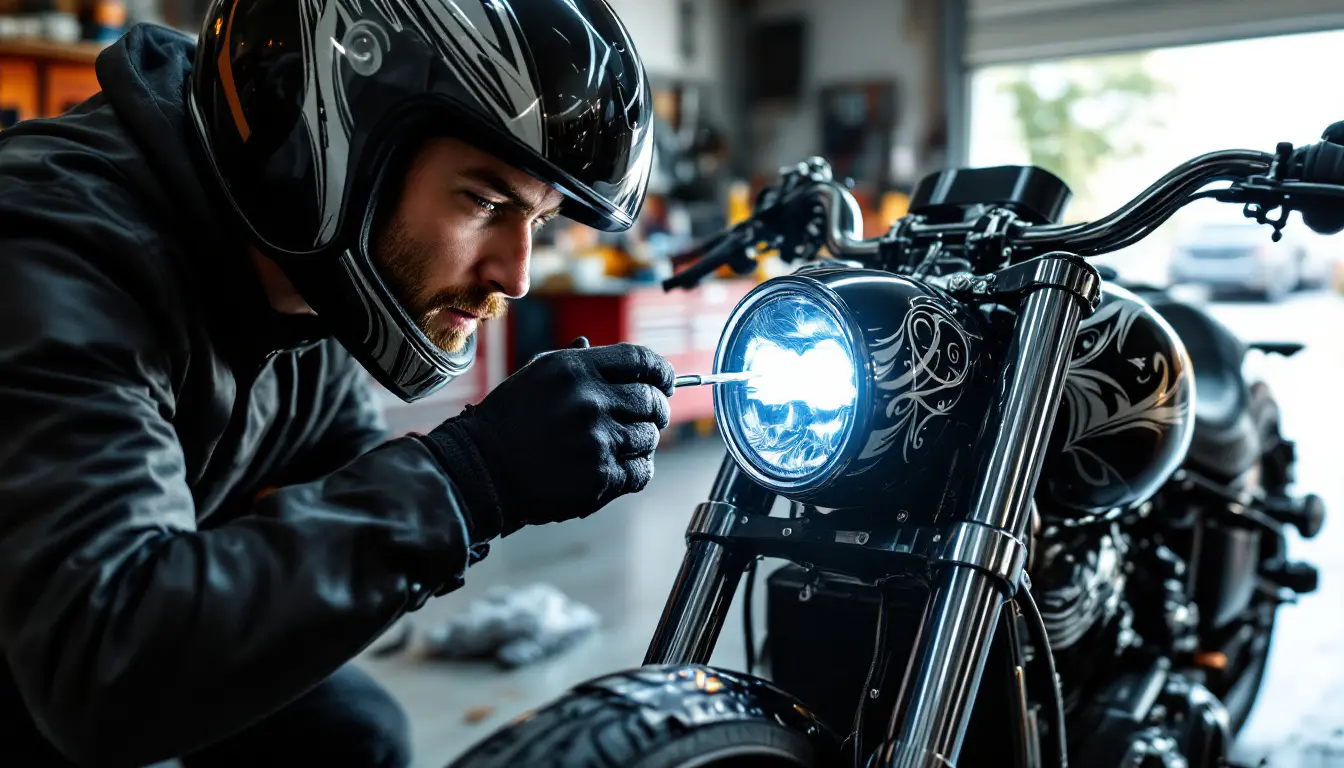
Properly adjusting the headlights of your motorcycle is essential to ensure your safety on the road, especially during your night rides. A good adjustment optimizes your visibility while avoiding dazzling other road users. Here are some practical tips to help you make this crucial adjustment accurately and effectively.
Properly adjusting the headlights of your motorcycle is essential to ensure good visibility on the road. In this article, we will explore several practical tips for making this adjustment, as well as the advantages and disadvantages associated with each method. Adopting the right technique will maximize your safety while enhancing your night riding experience.
Advantages
Adjusting your motorcycle headlights has several notable advantages. Firstly, proper adjustment improves your visibility, which is crucial when riding at night or in bad weather. A well-oriented light beam will illuminate the road in front of you without causing glare for other road users.
Additionally, having well-adjusted headlights can significantly reduce the risk of accidents. By properly illuminating your path, you have more time to react to unexpected situations, which could save your life. Another advantage is that this operation is generally simple to carry out and can be done at home with basic tools, which represents a potential cost-saving on maintenance.
Disadvantages
However, there are a few disadvantages to consider. Adjusting the headlights can sometimes be complex, especially if you lack the necessary experience or knowledge. A mistake in the adjustment can not only reduce your visibility but also hinder that of other drivers.
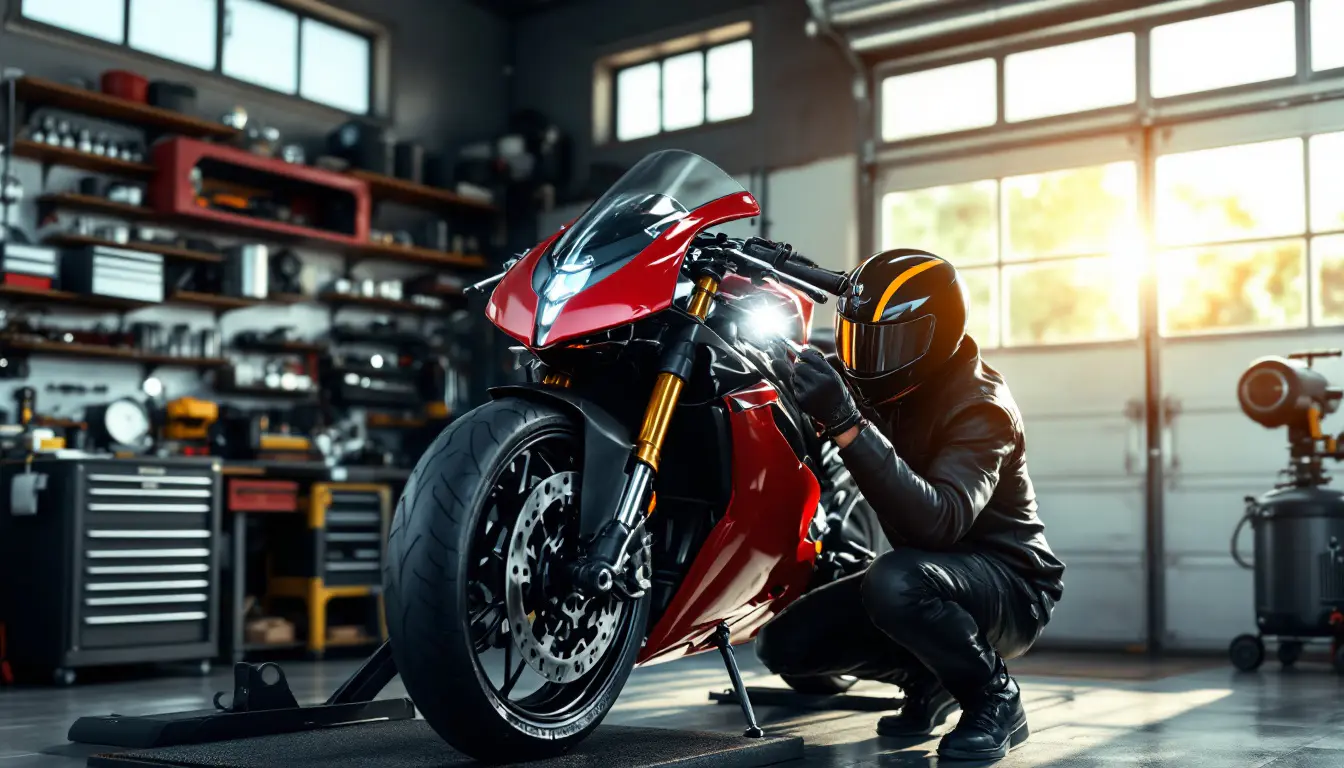
Adjusting the headlights of your motorcycle is an essential step to ensure your safety on the road. A good adjustment ensures not only optimal visibility but also prevents dazzling other drivers. This article provides you with a practical guide to effectively carry out this adjustment.
Preparation for Adjustment
Before starting, you will need a few tools: a screwdriver, an adjustable wrench, a ruler, and a marker. Make sure your motorcycle is positioned on a flat surface and is upright. For a lateral adjustment, place it perpendicular to a wall.
Measuring the Headlight Height
To establish an accurate adjustment, start by measuring the height of the headlight bulb relative to the ground. Use a ruler to obtain this measurement. Note that it is recommended to subtract 10 cm from this height to calibrate the beam correctly.
Adjusting the Headlight
For round headlights, first loosen the side mounts. This will allow you to adjust the headlight height to orient it correctly. Once you find the right position, tighten the mounts to hold the headlight in place.
Adjusting the Light Beam
It is crucial to ensure that the light beam aligns well with the mark on the wall at a distance of 5 meters. This ensures that the light projects correctly without dazzling other road users. To do this, you can use a pencil to mark where the beam starts.
Final Check and Adjustments
Once the adjustment is made, test your motorcycle in a safe environment to ensure the headlights work as intended. If you notice that the beam needs further adjustment, feel free to make the necessary corrections. Always keep in mind the importance of visibility for your safety and that of others.
For more information and tips on headlight adjustment, you can consult resources such as Les Furets or Speedway.
The proper adjustment of your motorcycle’s headlights is essential to ensure your safety on the road. A well-adjusted headlight not only improves your visibility but also ensures that other road users can see you. Here are some tips and tricks to help you adjust your headlights like a pro.
Preparation Before Adjustment
Before starting the adjustment, make sure your motorcycle is well prepared. Place it on flat and stable ground. Also, check the tire pressure, as an improperly inflated motorcycle can affect headlight positioning. It is recommended to measure the height of the headlight, taking the measurement from the ground to the bulb. Note this dimension for reference.
Positioning the Motorcycle
Position your motorcycle about 5 meters away from a vertical wall. This distance is crucial for accurately observing the light beam emitted by the headlight. Ensure that the motorcycle is perpendicular to the wall; this will facilitate lateral adjustment.
Measuring and Adjusting the Beam Height
To adjust the height of the headlights, simply mark a line on the wall at the height corresponding to your measurement minus 10 cm, which represents the ideal height for the beam. If your headlight is round, first loosen the side mounts and carefully adjust the height until the beam is directed correctly.
Checking the Light Beam
After making the necessary adjustments, test the light beam to make sure it doesn’t shine too high or too low. It is crucial that the beam properly illuminates the road in front of you while avoiding dazzling other drivers. It may be helpful to conduct the test at night to assess the accuracy of the adjustment.
Troubleshooting and Maintenance
If after adjustment, you notice that the lighting is still not optimal, consider replacing the bulb. Also, check if protective rubbers are in good condition. For regular maintenance, clean the headlight to remove dirt, insects, or any other obstruction that might affect the light.
For more practical information on headlight adjustment, you can check this link here.
Tips for Adjusting Your Motorcycle’s Headlights
| Step | Description |
| 1. Measure the height | Measure the distance from the ground to the center of the bulb while the motorcycle is stationary. |
| 2. Position the motorcycle | Place the motorcycle perpendicular to a wall about 5 meters away. |
| 3. Adjust the height | Loosen the mounts and adjust the height based on your previous measurements. |
| 4. Check the beam | Ensure that the light beam projects correctly on the wall. |
| 5. Observe the angle | Check that the light angle does not hinder other road users. |
| 6. Finalize the adjustment | Tighten the mounts after achieving the correct adjustment. |
| 7. Test on the road | Ride at night to test the effectiveness of your adjustments. |

Testimonials on Tips for Adjusting Your Motorcycle’s Headlights
Frédéric, passionate biker: “I always thought that adjusting the headlights wasn’t so important until I made a long night trip. After some practical advice, I learned how to correctly measure the height of my headlight. I found that a good adjustment not only improved my visibility on the road but also increased my safety by avoiding dazzling other drivers.”
Isabelle, owner of a sports motorcycle: “Before diving into adjusting my headlights, I didn’t realize that the distance from the ground was so crucial. By following the steps, I started by measuring the height of the bulb, then positioned my motorcycle 5 meters from a wall. The result was spectacular, and I gained confidence on the road.”
Jérôme, experienced biker: “Lateral adjustment of the headlights may seem confusing, but with the tips I found, everything became much simpler. Loosen the mounts, adjust the height according to the previously taken measurement… It’s amazing how something so simple can make a big difference while riding.”
Émilie, mechanic: “Having worked with bikers for years, I often find that many neglect the adjustment of their headlights. I explain to them the importance of properly lighting the road as well as the impact of headlight angle on safety. A simple adjustment can prevent many accidents.”
Thierry, night ride enthusiast: “Recently, I took the time to properly adjust the headlights of my motorcycle. Following a simple method: measure, adjust, and check. I realized that this made my night rides not just more enjoyable, but also significantly safer. I highly recommend every biker check this aspect of their machine.”
Properly adjusting the headlights of your motorcycle is essential to ensure your safety and that of other road users. A good adjustment ensures optimal visibility for both the rider and other drivers. In this article, we will provide you with practical tips and clear steps on how to effectively adjust your motorcycle’s headlights.
Necessary Equipment
Before starting the adjustment of your headlights, it is important to gather all the necessary equipment. Here is what you will need:
- A measuring tape to measure the height of the headlights.
- A screwdriver to adjust the headlight mounts.
- An adjustable wrench or flat wrench for additional adjustments.
- A marker or pencil to note the measurements.
Positioning the Motorcycle
Before starting the adjustments, it is crucial that your motorcycle is correctly positioned. Place your motorcycle on a flat surface and perpendicular to a wall. The ideal distance between the wall and the front of your motorcycle should be at least 5 meters. This will facilitate a precise adjustment of the light beam.
Measure the Height of the Headlight
For a good adjustment, start by measuring the height of your headlights. Use a ruler to measure the distance from the ground to the center of the bulb. Once this measurement is taken, remove 10 cm to obtain the reference height at which the light beam should cross the wall.
Adjusting the Headlight Height
To adjust the height of the headlight, it is often necessary to loosen the side mounts of the headlight. This will allow you to adjust the height so that the beam is properly directed. If your motorcycle has a round headlight, this adjustment will be enough to direct the headlight up or down according to your needs.
Lateral Adjustment of the Beam
After adjusting the height, it is time to correct the lateral orientation of the beam. To do this, turn on the headlights and observe the shadow projected on the wall. The intersection point of the light beam should be aligned with the center of your motorcycle. Adjust the side mounts accordingly to ensure that the beam is directed slightly to the right, so as not to dazzle oncoming drivers.
Final Checks
Once the adjustments are complete, perform a series of checks to ensure everything is in order. Make sure that the bulbs are properly in place and that the protective rubbers are correctly replaced after verification. Test your headlights in varying driving conditions, at night and during the day, to ensure good visibility.
The Importance of Headlight Maintenance
It is essential to keep your headlights in good working condition. Regularly check the status of the bulbs and replace them if necessary. Proper maintenance will contribute not only to your safety but also to the longevity of your motorcycle.
Tips for Adjusting Your Motorcycle’s Headlights
To ensure safe riding, it is essential to properly adjust your headlights. A good adjustment not only effectively lights the road but also makes you visible to other road users. The first step is to measure the height of your headlight, taking the measurement from the ground to the bulb. It is recommended to position your motorcycle at a distance of 5 meters from a wall to make the necessary adjustments.
Once the distance is established, it’s time to proceed with the actual adjustment. For a round headlight, it is important to start by loosening the side mounts. This will allow you to adjust the height of the light beam according to your previous measurements. Keep in mind that it is advisable to subtract about 10 centimeters from the measured height to ensure optimal lighting on the road.
After adjusting the height, check the orientation of the beam. A lateral adjustment should be done carefully, ensuring that the light beam intersects about 3 centimeters below the bulb level. This will maximize your visibility without dazzling oncoming drivers.
Finally, remember to regularly check the adjustment of your headlights, especially after maintenance or a change of parts. By following these tips, you will contribute to your own safety and that of others while fully enjoying your riding experience.
FAQ: Tips for Adjusting Your Motorcycle’s Headlights
How can I adjust my motorcycle’s headlights? To adjust the headlights, start by measuring the height of the bulb relative to the ground. Then, position the motorcycle about 5 meters from a wall for better positioning.
What are the steps for a lateral headlight adjustment? Ensure that the motorcycle is perpendicular to the wall, then adjust the light beam so that it intersects at a certain point on the wall, typically at the height of the bulb.
What tools are needed to adjust the headlights? You will need a ruler, a marker or pencil, a screwdriver, and possibly an adjustable wrench.
How can I tell if my headlights are properly adjusted? To check, observe the light beam on a wall. The edges of the beam should be slightly angled downward and projected at a certain distance.
Do I need to remove the bulb to adjust the headlight? It is not always necessary to remove the bulb for adjustment, but it is recommended for better access to the adjustment screw.
Is there a specific distance to maintain between the motorcycle and the wall? Yes, it is advisable to place the motorcycle about 5 meters from the wall to achieve optimal light beam adjustment.
Can I adjust the headlights myself? Absolutely, with the right tools and a little patience, you can perform the adjustment yourself without needing a professional.
When should I adjust my headlights? It is good to check and adjust the headlights regularly, especially after changing a bulb or making modifications to the motorcycle’s suspension.

