IN BRIEF
|
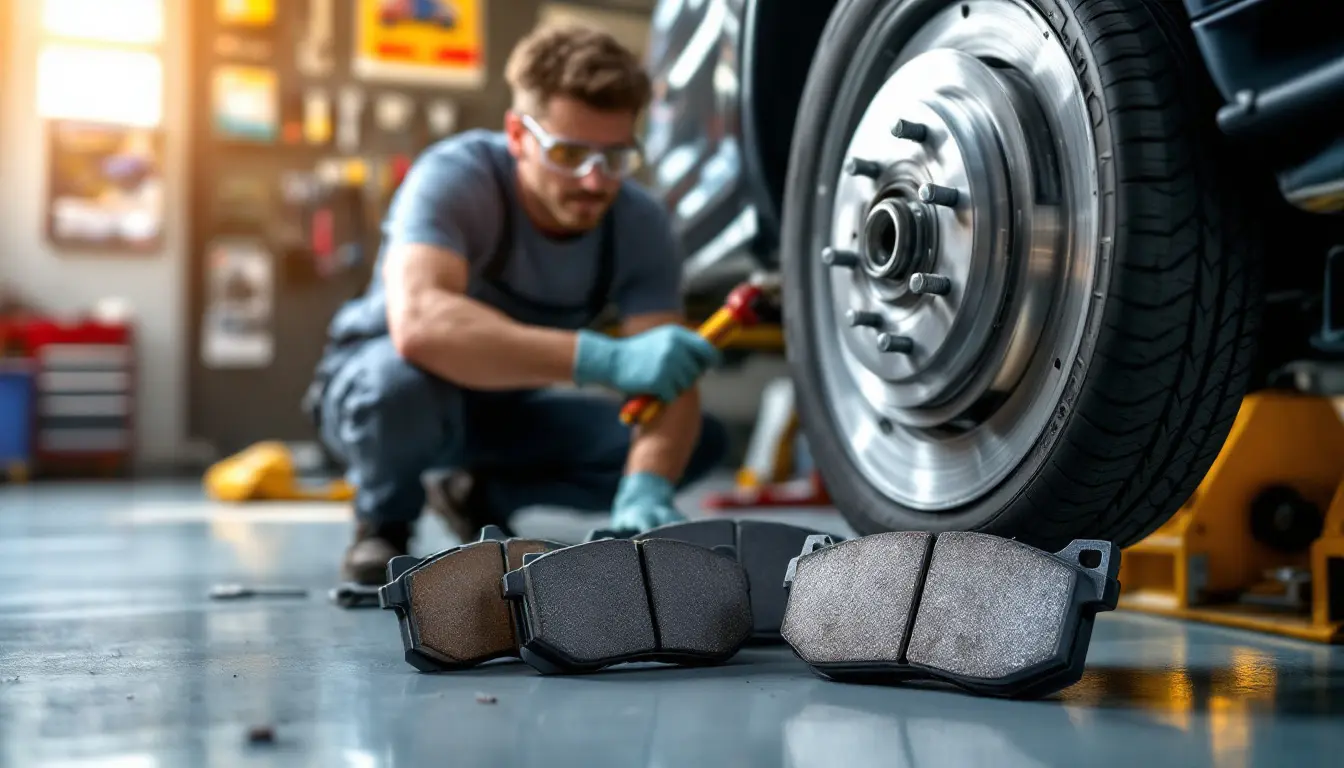
In the field of motorcycle mechanics, ensuring driver safety is essential, and this largely depends on the good condition of the brake pads. Knowing when to replace them is crucial. On average, it is recommended to change them every 20,000 to 30,000 kilometers, but several signs can indicate that it is time to intervene sooner. In this article, we will explore indicators of wear on brake pads as well as the steps to follow for an effective and safe replacement.
The brake pads play an essential role in the safety and efficiency of your vehicle. Knowing when and how to replace them is crucial to ensure safe driving. This article compares the advantages and disadvantages of replacing the brake pads, to help you make an informed decision.
Advantages
Regular replacement of brake pads has several advantages. First, it ensures optimal performance of the brakes. Worn brake pads can reduce your ability to brake effectively, thus increasing the risk of accidents.
Second, changing the pads on time prevents further damages to your braking system. Neglecting this replacement may damage the brake discs, which can lead to more costly repairs.
Finally, regularly exchanging the pads contributes to a better longevity of the entire braking system, thereby ensuring safe driving in the long term.
Disadvantages
disadvantages associated with replacing brake pads. First, there is the cost, which can vary depending on the brand and model of the vehicle. These expenses can accumulate over time, especially if you need to replace pads frequently.
Next, the time required to perform this task can be a constraint. If you are not a skilled mechanic, the process may seem complicated and require intervention from a professional, which increases the total cost.
Finally, it is essential to be vigilant about the signs of wear of the brake pads. Not changing them on time can jeopardize your safety and that of other road users. Grinding noises or vibrations during braking should be taken very seriously.
The brake pads play a crucial role in the safety of your vehicle. Over time, they wear out and need to be replaced to ensure effective braking. This article will guide you through the telltale signs indicating that it is time to replace them, as well as the steps to follow to do it correctly.
Signs that it’s time to replace your brake pads
It’s important to remain attentive to the signs of wear on your brake pads. Here are some indications that may signal that a replacement is necessary:
Abnormal noises
If you hear grinding or squeaking noises when braking, it may mean that your pads are worn. These sounds often come from an integrated wear indicator that signals that it is time for replacement.
Thickness of the pads
Another way to check the condition of your pads is to assess their thickness. If it reaches 2 mm or less, it is imperative to replace them to ensure the proper functioning of your braking system.
Reduction in braking efficiency
You may also notice that braking is becoming less effective than before. If you feel a vibration or deviation of the vehicle while braking, it is advisable to consult a professional to diagnose your braking system.
How to replace your brake pads
Replacing brake pads can be done by professionals or by yourself if you have the necessary skills. Here are the steps to follow for a successful replacement:
Preparation
Make sure you have all the necessary tools on hand: a jack, socket wrenches, a screwdriver, and the new brake pads. Also, be sure to wear protective equipment.
Lift the vehicle
Use a jack to lift the vehicle. Be sure to secure it with jack stands to prevent any accidents during the replacement.
Remove the old pads
Remove the wheels and access the brake caliper. Unscrew the caliper bolts and gently remove it to access the pads. Then, remove the old brake pads.
Install the new pads
Place the new brake pads in the caliper. Be sure to follow the same configuration as the old ones. Once in place, reattach the caliper and tighten the bolts according to the manufacturer’s specifications.
Replace the wheels and lower the vehicle
Reinstall the wheels, lower the vehicle, and tighten the wheel bolts appropriately. It is important to check that everything is in good condition before getting back on the road.
To learn more about regular maintenance of brake pads and ensure the safety of your vehicle, feel free to consult additional resources. You will find valuable advice on sites such as Big Ben Motorcycle and JMJ Automobiles.
The brake pads play an essential role in the safety of your vehicle, whether it is a motorcycle, car, or bicycle. Knowing when to replace them and how to proceed is crucial to ensure effective braking. This article guides you through the indicators for change, replacement steps, and good maintenance practices.
Signs that it’s time to change your brake pads
There are several symptoms to watch for that may indicate that your brake pads are worn. One of the first signs may be grinding or squeaking noises when you brake. This often indicates that the backing of the pad has reached a critical level of wear. Additionally, if the thickness of the pads drops below 2 mm, it is imperative to replace them.
As a general rule, it is advisable to change the pads every 20,000 to 30,000 kilometers, depending on the type of driving and road conditions. For motorcycles and bicycles, regular inspection is recommended, especially after long or intensive rides.
Brake pad replacement procedure
Replacing brake pads can be carried out by a professional or by yourself if you have the necessary skills. Here are the steps to follow:
1. Prepare your workspace
Make sure to have a clean and well-lit workspace. Gather the necessary tools: an adjustable wrench, a jack, a screwdriver, and of course, new brake pads.
2. Raise the vehicle
Use a jack to lift your vehicle or motorcycle. Always secure the vehicle with jack stands to avoid any accidents.
3. Remove the wheel
With the appropriate tools, remove the wheel to easily access the brake pads. This may require unscrewing some parts, so be meticulous.
4. Remove the old pads
Using the right tools, remove the old pads. Be careful to remember or photograph how everything is assembled to facilitate reassembly.
5. Install the new pads
Before placing the new pads, thoroughly clean the caliper and check the general condition of the brake discs. Insert the new pads following the same steps as for the old ones.
6. Reassembly and testing
Reattach the wheel and tighten all screws to the appropriate torque. Once everything is reassembled, perform a low-speed test to check that everything is functioning correctly.
Safety first
Replacing brake pads may seem like a simple task, but it is essential for your safety. Be sure to take the necessary precautions and, if you are unsure, do not hesitate to call a professional.

Replacing brake pads is an essential operation to ensure your safety on the road. It is recommended to replace these parts when their thickness reaches approximately 2 mm. Generally, you should consider replacing them after covering between 20,000 and 30,000 kilometers. However, several signs of wear may indicate that it is time to act sooner.
Grinding or squeaking noises are often clear signs of advanced wear. These noises can indicate that the lining of your pad is too thin and no longer provides adequate friction. Furthermore, let’s consider the typical lifetime of the pads: it varies depending on the type of vehicle and how you drive it, but generally, a change is necessary every 10,000 to 35,000 kilometers.
To change the brake pads, it is important to follow a multi-step process. First, you need to lift the vehicle and remove the wheels to access the brake caliper. Next, you should disassemble the caliper and extract the old pads. Once that is done, you can insert the new pads, replace the caliper, and finally, replace the wheels. Do not forget to perform a breaking in of the new pads to ensure optimal braking.
By keeping an eye on the wear of your brake pads and replacing them as needed, you ensure your safety and that of other road users. Regular maintenance of your braking system is essential for worry-free driving.
FAQ: When and how to replace brake pads
When should brake pads be replaced? Generally, it is recommended to replace the pads every 20,000 to 30,000 kilometers or when the thickness of the lining reaches 2 mm.
What are the signs indicating that it is time to change the pads? Grinding or squeaking noises, a feeling of reduced braking performance, and the thickness of the pads are key indicators.
How often should brake pad condition be checked? It is wise to check them at least once a year or every 10,000 km to ensure their proper functioning.
How long does it take to change brake pads? Generally, changing brake pads can be done in 1 to 2 hours, depending on the mechanic’s experience and the motorcycle model.
What is the average lifespan of front brake pads? Front brake pads typically last about 30,000 to 35,000 km, while rear ones can last up to 70,000 km.
What to do if I hear noises when I brake? This may indicate wear on the brake pads. It is recommended to have them checked immediately by a professional.
How can I tell if my brakes are worn? Symptoms include unusual noises when braking, an increase in stopping distance, and a vibration during braking.
What price should I expect for changing brake pads? The cost can range between 100 and 300 euros, depending on your motorcycle model and the chosen garage.

